A few days ago I went to the buy a few medicine boxes which I planned to use in organizing my makeups. I don't like lunging along bulk, so I try to make things simple and as compact as possible. I got several stick foundations that has been occupying a lot of space so I decided to depot everything into these travel friendly space saving plastic cases.
 |
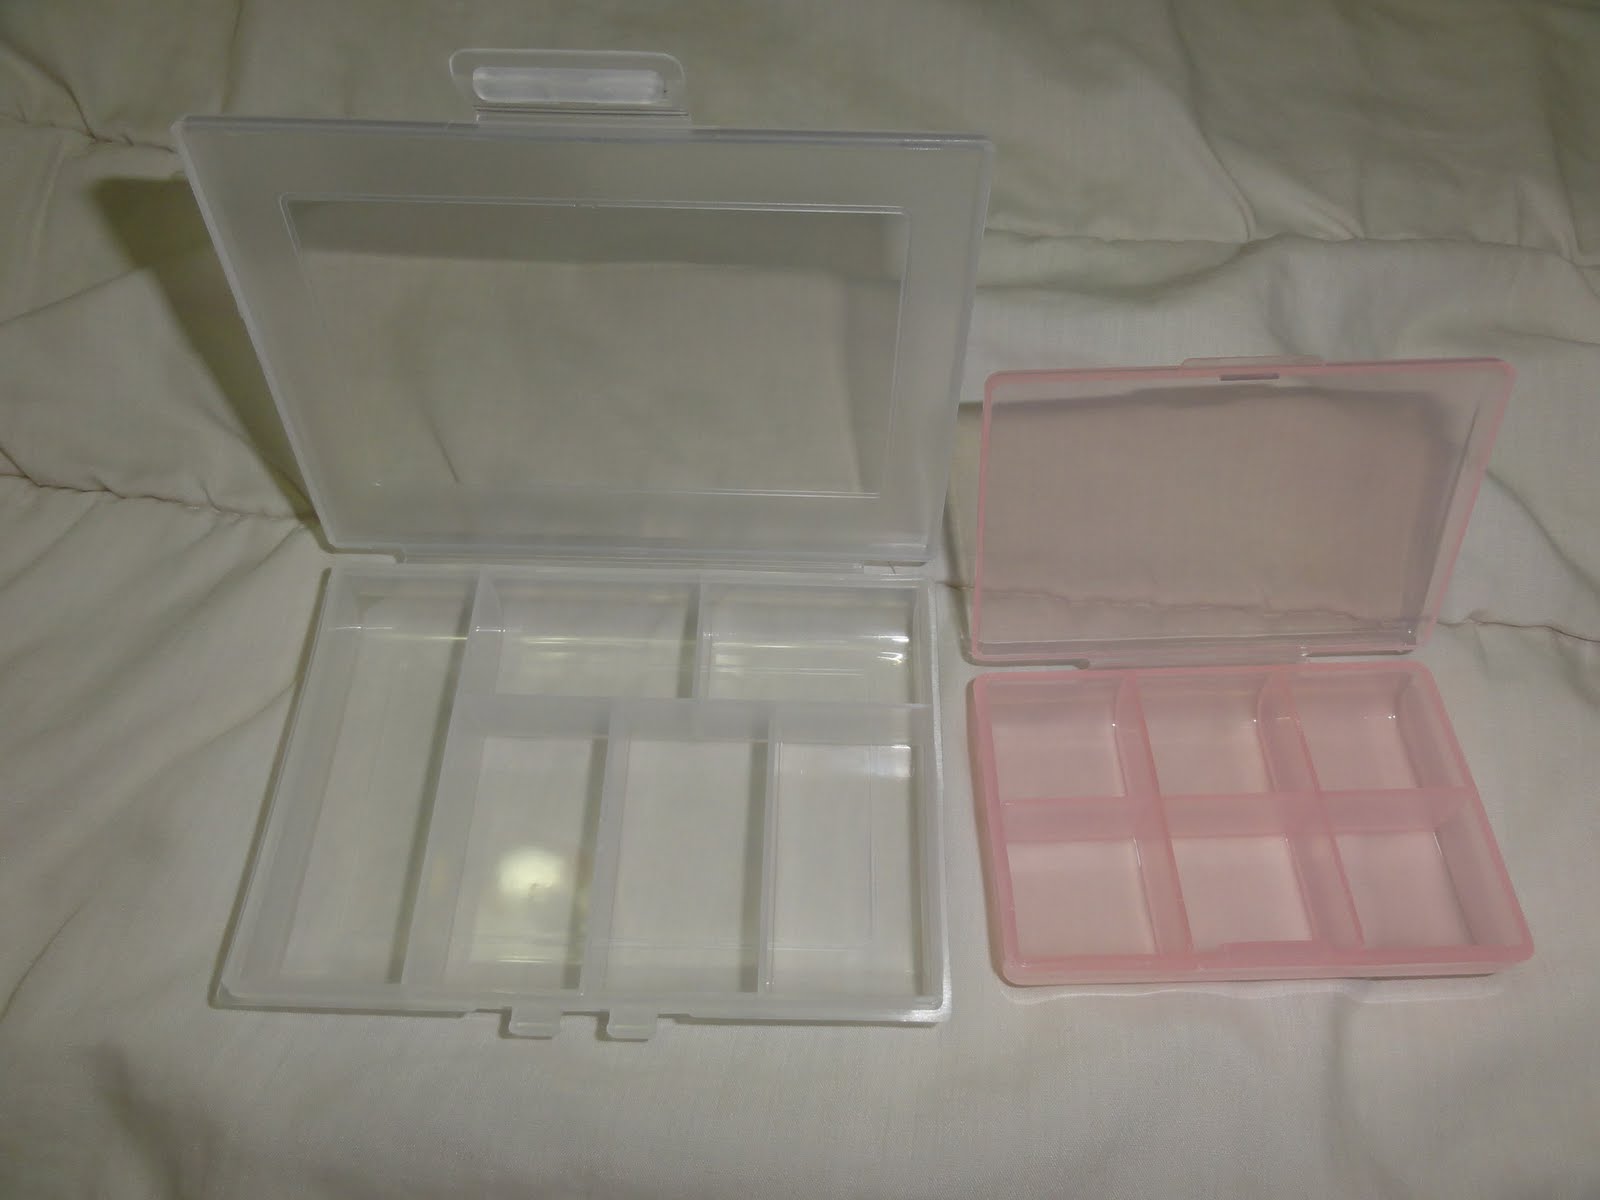
You don't really need expensive makeup palettes for your cream and stick products these do just fine, try looking for medicine boxes that doesn't have "days of the week" labels, but if you don't mind the labels then go for it. each box cost less than a dollar! (sewing boxes can be used too.)
|
 |
| I can see my self filling the white box with 3 shades of foundations on the bottom 3 compartments and 2 shades of blushes on the top compartments and some travel size brushes and spatulas on the left compartment :c) |
Yesterday I started my little project, I have 5 stick foundations and decided to use the pink case for it. Here's the list of the things needed for this project.
- hair flat iron
- a little pan or similar (I used the little tin pan from a tea light candle)
- alcohol
- spatula
- medicine boxes or other similar organizer
- tweezers or thongs or anything similar (I used hair clip)
- stick foundations
- tissue paper (for clean ups)
First thing I did to clean the spatula, medicine box, thongs and the pan, with alcohol to disinfect things. If your'e using a tea-light candle pan like me, be sure to clean the pan very well and take out every single trace of candle wax, you don't want that mixing into your foundation.
 |
| twist up foundation to it's full length |
 |
| with spatula break off the foundation from the tube into the pan |
 |
| some products will be left inside the tube don't take it out yet just leave it |
 |
| the pan is now ready to be heated up, turn on iron just as tin is on the iron to avoid the iron from getting too hot and boiling the makeup. |
 |
| the moment iron heats up the foundation instantly melts into a puddle. |
 |
| when everything is melted quickly pick up the hot tin with tweezers or thongs (be very careful because it is very hot) |
 |
| pour out contents into box as quickly as possible so the makeup would set nicely, taking longer time would make pouring harder as it thickens up and the setting would be a bit lumpy and messy. |
 |
| I slip a little on the side, no biggy I just carefully cleaned it out with my spatula and some tissue. |
I repeated the procedures until I finished melting all 5 foundations.
Finally I took all the remaining foundations from all 5 tubes, scraped every single one and put everything into the pan and melted it, I stirred the puddle to blend well all the colors to create a 6th color! :c)
 |
| Take the label from the bottom of the foundation tube and transfer it to the case so you'd know which color is which, you can also relabel with transparent stickers, or however you prefer to lable |
 |
| bottom center has no label since it's the one I created myself |
 |
| it literally fits in the palm of the hands, you can even pocket it |
 |
| I have also depoted 14 of my lipsticks, I printed the labels on transparent stickers |
The advantage for depotting makeups aside from it's space saving is the convenience in portability and organization and I just love the fact that I can see all the makeup shades that I have in one glance, it makes it easier for me to mix and match colors without having to swim through my makeup kit just to look for one shade. And I like how much lighter my makeup kit is with out the extra bulk saves me the back pain.


No comments:
Post a Comment